Katrina Oko-Odoi
Sr. Content Marketing Manager
If you’re a Google Workspace user, you’re likely already familiar with Google Calendar and Google Sheets — but did you know that you can use Google Docs or Google Sheets to customize your calendar experience even more?
If an out-of-the-box tool isn’t working for you to manage your schedule, then it might be time to get creative and add the exact features you need to your calendar. You can create your own Google Sheets calendar template — or customize one of the prebuilt templates to your needs. Let’s get into it.
Why use a Google Sheets calendar template?
Look, we get it—sometimes the simplest tools are the most powerful. And when it comes to building a flexible, collaborative, and totally customizable calendar, Google Sheets is a surprisingly strong contender.
Whether you're juggling multiple content calendars, managing client deliverables, or just trying to keep your team in sync, Google Sheets gives you the control you need without the complexity. It’s the perfect middle ground between scribbling notes in a paper planner and investing in a heavy-duty scheduling platform.
Here’s why people still love using Google Sheets for calendar templates:
-
Ease of use: If you’ve used any app in Google Workspace , you’ll feel right at home here. The interface is clean, intuitive, and easy to navigate—even if you're not a spreadsheet whiz. Setting up a calendar template takes minutes, not hours.
-
Real-time collaboration: One of Google Sheets’ best features? You can share your calendar with your team and edit together in real-time. No sending back and forth. No version control drama. Everyone’s always looking at the same, up-to-date calendar.
-
Access from anywhere: Because Google Sheets is cloud-based, your calendar goes wherever you do. Need to tweak the content schedule on your phone while commuting? No problem. Everything lives online, synced across all your devices.
-
Customization galore: Want color-coded weeks? Conditional formatting? A column for internal notes or links to Google Docs? You can make your calendar as simple or complex as you need. That’s the beauty of building it yourself.
-
Automation power: Thanks to built-in formulas and functions, you can automate key parts of your calendar—like tracking deadlines, rolling over recurring tasks, or calculating timelines. Want to take it even further? Layer in integrations with Google Forms or App Script to level up your system.
So yes, while it may not be the flashiest option, Google Sheets is a quiet powerhouse—especially when paired with other Google Workspace tools. And if you’re building out a workflow that supports everything from client meetings to content production? It’s a rock-solid starting point.
The benefits are real—but how exactly do you build a calendar in Google Sheets that works for you? Let’s break it down.
How to create your own Google Sheet calendar template
If you’re ready to start using Google Sheets to create calendars, follow these steps to build your own Google Sheet calendar template:
1. Browse templates first
Our focus in this article is all about creating your own templates built to your unique specifications. Still, it can’t hurt to see what’s already out there to potentially save you some time. From the calendar or schedule templates available on Google Sheets, to the hundreds of Google Sheets calendar templates elsewhere online, there are a lot to choose from. If you find one that’s a fit, consider using it as a foundation and customizing the template from there.
Or try one of our templates! We've made ones for both Google Sheets and Google Docs, so you can choose one that works best for you. Just make a copy for your self and start plugging away!
If Google’s own templates aren’t a fit, then perform an online search for “Calendar template google sheets” or “Google sheet templates” online. None jumping out at you? Read on.
2. Open a blank spreadsheet
The first step is to navigate to Google Sheets and open a new document, give it a name, and add the year, month or week you want to start with. Choose a name for your Google Sheets calendar template that's easy to remember and find.
3. Add specific days of the week and dates
One way to add these is to write the dates and weekdays across the top of your sheet (all along the first row). You’ll want to align the first day of the year, month or week with the day of the week that it falls on.
Always check and double-check that you have this correct or your whole calendar could be thrown off. You can also put days and dates along the side of your calendar (using columns). Some people find this easier to read, although it's not the traditional view that many of us are used to.
Which method you use depends on your preferences and the purpose of the calendar. For example, if you’re creating a weekly content calendar for blogging, the latter option might help keep things a little more organized as you go. For my purposes of using the Google Sheets calendar for productivity, keeping the dates across the top works just fine.
4. Add items to your Google Sheets calendar template
At this point you have a basic framework. Now comes the fun part: you can start populating your calendar. Add items to the cells for each date.
Tip: make sure to wrap your text within each cell so that it doesn’t spill over.
To do that, go to the formatting bar and find the “text wrapping” button. Choose the option that has a wrap-around arrow. Or select “Wrapping” under the Format dropdown menu.
5. Continue to build
One reason why many people like creating calendars in Google Sheets is because it’s so simple to continuously add content. The spreadsheet has a continuous format so you can add more weeks, months, or even years to your calendar. Now that I have Week 1 set for June, I’ll duplicate those cells and create Week 2 directly below.
Our favorite part is that you can create new tabs so that it's easier to compare your data against previous time periods. For example, if you keep all of your monthly calendars in separate tabs, you can quickly view what you did last month, or six months ago. For my productivity calendar, for example, I’ll be tracking my most productive days and times of the week to help me better manage my time.
Other ways to customize your calendar in Google Sheets
You may also want to add new columns to keep track of different information. You can even use conditional formatting so that your team can understand project status. Conditional formatting will make changes to a designated cell based on certain criteria. For example, use the color red to indicate when something is overdue.
To set this up, follow these steps:
- Choose the column containing the data you’re working with (you can also apply this to rows or individual cells).
- Under “format”, select “conditional formatting”. A sidebar will pop up, and you can fill in the specific rules that you need. For example, choose to color any cell with the text “no” red. Using the dropdown menu, choose “Text contains” and then type “no” in the box below. From here you can tweak the formatting style.
- Continue to follow those steps to format the other text options in the column (ie: “yes” is green; “in progress” is yellow).
- Once you have completed this formatting, the text boxes will automatically change when you adjust the text inside. Changing “in progress” to “yes” will change the color of the cell from yellow to green.
Pre-built calendar templates in Google Sheets
As I already touched on, you may want to make use of the calendar templates already available in Google Sheets. The platform has a variety of calendar templates that can be customized to your needs. Many times, these templates are a great starting point for creating something that’s perfect for you.
Some of the templates you can find are: yearly calendars, monthly calendars, weekly calendars, daily calendars, project timelines and various forms of Gantt charts (great for tracking progress over time and ensuring tasks are completed on time).
Or, we also have our template you can download and try for yourself! Try our calendar template for both Google Sheets or Google Docs, and get started on getting yourself on track and organized!
The standard Google Sheets template for a Gantt chart
What about using Google Calendar instead?
Let’s be honest—Google Sheets is a powerhouse for organizing data, but when your calendar starts getting complicated (we’re talking color-coding chaos and too many rows to scroll through), it might not be the smoothest ride. Even with some automation magic, using Google Sheets as a calendar still means a fair bit of manual entry and fiddly formatting.
If you’re juggling meetings, documents, and client details, it might be time to level up. Enter Google Calendar: it’s got all the built-in features you need to manage your schedule without the spreadsheet stress. And if you're constantly switching between tools to prep for customer or prospect meetings, there’s a smarter way to streamline.
A better setup: Google Calendar + your CRM
Still not loving the idea of managing your calendar in Google Sheets? We don’t blame you. Try pairing Google Calendar with your CRM for a way more powerful setup.
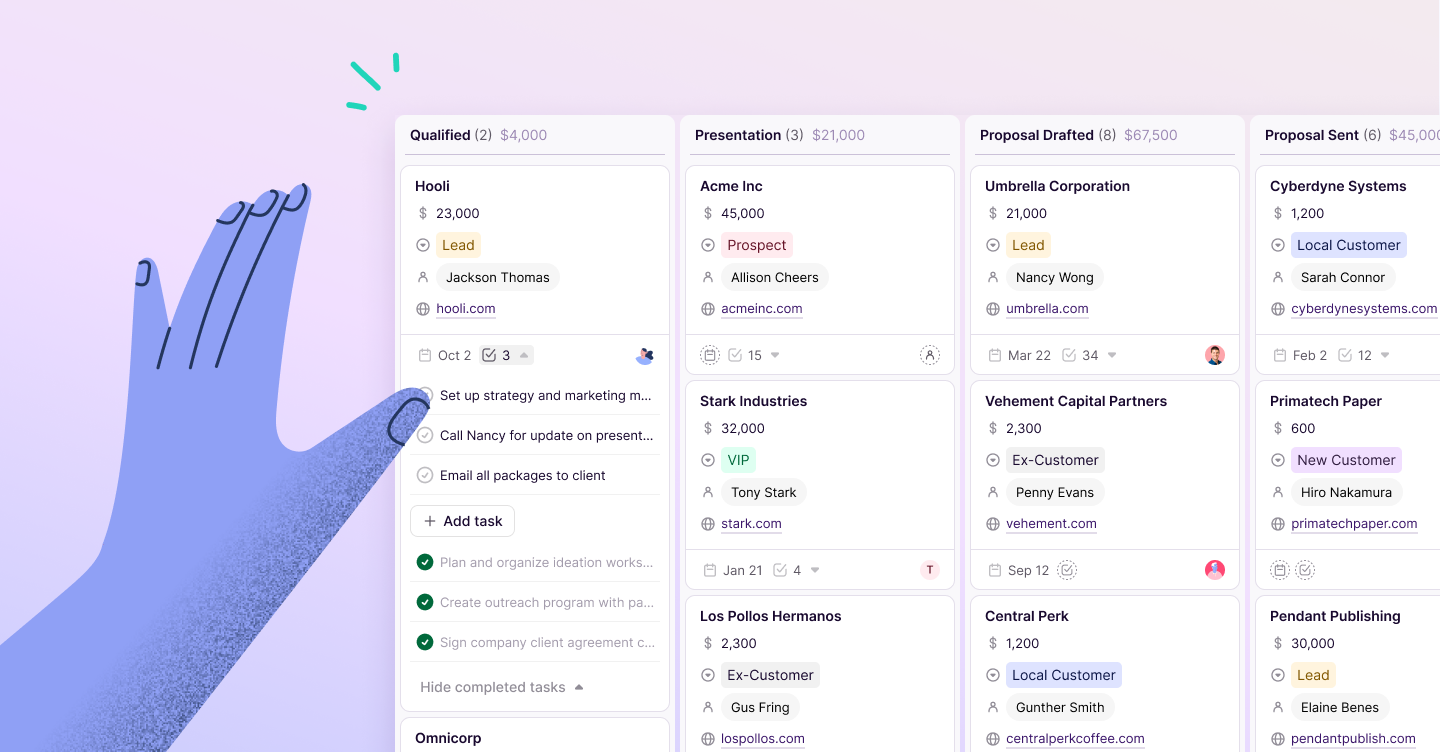
For example, Copper integrates directly with Google Calendar so you can view all the important stuff—like meeting notes, contact info, and deal details—right inside your calendar. No tab switching. No digging through Google Docs to find what you need last minute. Just everything in one place, ready when you are.
Let your calendar work with you, not against you.
If you're living in Google Calendar and bouncing between tabs to prep for meetings, there’s a better way to work. Integrating your calendar with your CRM isn’t just a nice-to-have—it’s a game-changer. It gives you instant context around the people and events that matter, without interrupting your flow.
With the Copper Chrome extension, you get Copper’s CRM insights baked right into your Google Calendar and Gmail. That means no more digging through emails, Google Docs, or your CRM to remember what you last discussed with a prospect or which file belongs to which meeting. Everything you need—event details, contact info, deal notes, related files—is right there in your calendar view. Users love how seamless it is to stay in the loop without bouncing between platforms or breaking their workflow.
At the end of the day, whether you're still trying to make Google Sheets work as a calendar or you're just looking to simplify your client meetings, Copper helps tie it all together. You’ll save time, stay organized, and never show up to a meeting without the full picture.
New to Copper? Try it free for 14 days—no credit card required. It’s the easiest way to make the most of the Google Workspace tools you’re already using.